How I Prevent Plant Shock After Repotting In 5 Simple Steps
Learn how container restriction alters root architecture, why over-potting creates stagnant anaerobic zones, and how to prune circling root systems without transplant shock.

The Giant Pot Trap
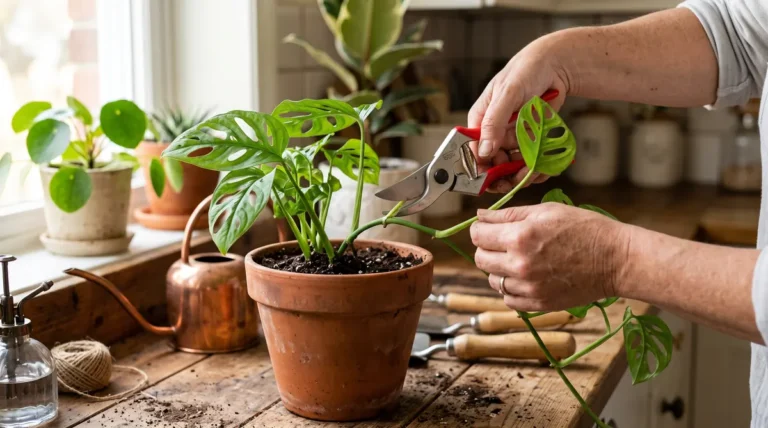
Early in my houseplant journey, I bought a young Monstera in a 6-inch grower pot. I wanted it to grow into a massive floor specimen quickly, so I moved it directly into a huge 14-inch decorative planter. I filled the massive gap with rich standard potting soil and gave it a thorough watering.
My reasoning seemed sound: more soil volume meant more room to stretch out. Instead of explosive foliage, the opposite happened. The plant stopped growing entirely. Within four weeks, lower leaves turned yellow with soft brown borders, and the soil stayed damp for almost a month. When I dug the plant out, half of the root system had rotted away into black mush.
That painful lesson taught me container soil physics. Roots require steady oxygen diffusion alongside moisture rather than expanding into waterlogged potting mix. Up-potting incorrectly turns an indoor planter into an anaerobic bog. Repotting correctly requires matching container dimensions to root mass, choosing appropriate vessel porosity, and knowing when to prune tangled roots.
The Science: Root Bound Physiology, Perched Water Tables, and Pot Materials
1. Root Bound Dynamics: Mechanical Impedance and Girdling
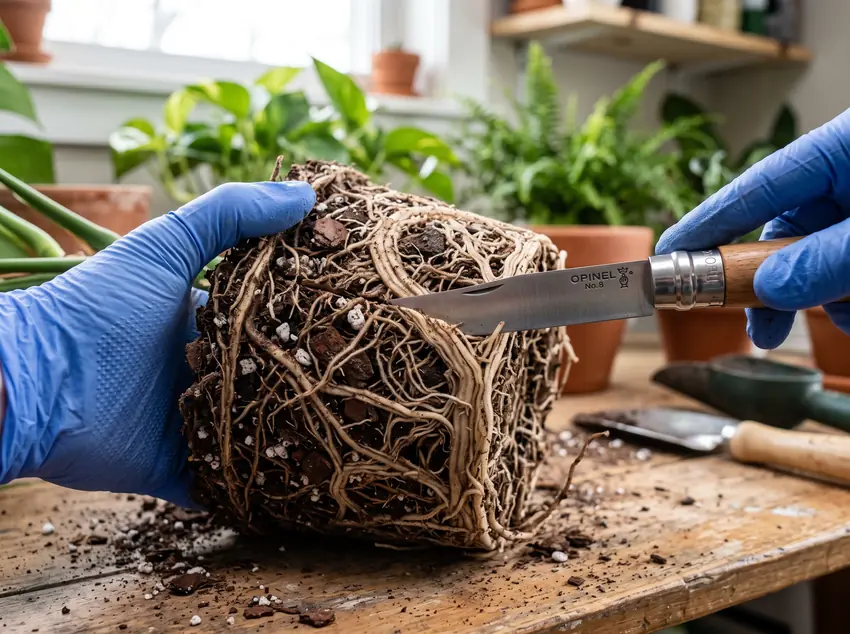
When roots reach the rigid impermeable wall of a container, their elongation zone encounters mechanical resistance. Instead of penetrating deeper, roots deflect laterally and downward, forming tight spiral loops around the perimeter (NeSmith & Duval, 1998; Amoroso et al., 2010).
As these circling roots thicken through secondary woody growth, they exert inward pressure on one another. This constriction reduces root hydraulic conductivity ($L_p$), restricting water and nutrient transport to the canopy. Severely root-bound plants display chronic wilting even when submerged in water because water cannot flow through compressed vascular tissue.
2. The Perched Water Table and the Danger of Over-Potting
Every container filled with porous media contains a saturated zone at the bottom where capillary forces balance gravitational pull. This zone is known as the perched water table (Spomer, 1974).
When you step up a pot by only 1 to 2 inches in diameter, the existing root system quickly colonizes the new substrate and drinks that perched water within a few days. When you jump to an oversized container, the tiny root ball occupies only a small fraction of the soil volume. The massive volume of uncolonized potting media stays saturated for weeks, depleting oxygen and creating ideal conditions for fungal pathogens.
3. Container Materials: Gas Exchange and Thermal Buffering
The material of your container alters root zone hydrology and respiration (Poorter et al., 2012; Keever et al., 1989):
- Terracotta (Unglazed Clay): Porous walls permit gas exchange and lateral evaporation across the entire surface area. This cools the root zone and prevents moisture stagnation, making it perfect for succulent roots like Hoyas, Snake Plants, and ZZ Plants.
- Plastic Nursery Pots: Non-porous walls retain water uniformly and prevent evaporative chilling. They work exceptionally well inside decorative cachepots for moisture-loving tropicals like Calatheas and Ferns.
- Glazed Ceramic: Retains moisture identically to plastic while offering substantial weight to stabilize tall, top-heavy plants like mature Monsteras and Fiddle Leaf Figs.
- Fabric Pots: Provide natural air-pruning. When root tips reach the breathable fabric edge, contact with dry air terminates the apical meristem, triggering dense lateral branching instead of spiraling loops.
Container Materials: Comparison & Plant Pairing
Select the ideal pot material based on root structure and moisture preferences:
| Pot Type | Wall Porosity | Drying Speed | Best Tropical Matches |
|---|---|---|---|
| Terracotta | High (Porous clay) | Very Fast (1–3 days) | Hoya, Snake Plant, ZZ Plant, Peperomia |
| Plastic Nursery Pot | Zero (Impermeable) | Moderate (4–7 days) | Philodendron, Syngonium, Calathea, Epipremnum |
| Glazed Ceramic | Zero (Vitrified glaze) | Moderate to Slow | Monstera, Ficus lyrata, Strelitzia, Palms |
| Breathable Fabric | Maximum (Woven fiber) | Fast (Air-pruning) | Indoor Fruit Trees, Alocasia large specimens |
The 5-Step Protocol To Prevent Plant Shock After Repotting
Step 1: Hydrate 24 Hours in Advance
Water your plant thoroughly one day before repotting. Fully turgid root cells are flexible and resilient, whereas brittle dehydrated roots snap easily under tension during extraction.
Step 2: Gentle Extraction Without Stem Pulling
Squeeze the sides of flexible plastic pots to loosen root adhesion to the sidewall. Invert the pot while supporting the main stem base with your open palm, letting gravity slide the root ball free. Avoid yanking stems directly upward, which tears fine feeder roots at the root collar.
Step 3: Root Disruption & Pruning Rules
For lightly bound roots, tease the bottom 1 to 2 inches gently with your fingers to break the spiraling habit. For dense, woody root mats (common in Ficus and Monstera), use a sterilized blade to make 3 or 4 shallow vertical scores (1/4-inch deep) down the sides of the root ball (Gilman et al., 2010; Arnold & Young, 1991). This severing stimulates vigorous new lateral root branching into fresh substrate.
Step 4: Potting Depth & Substrate Settling
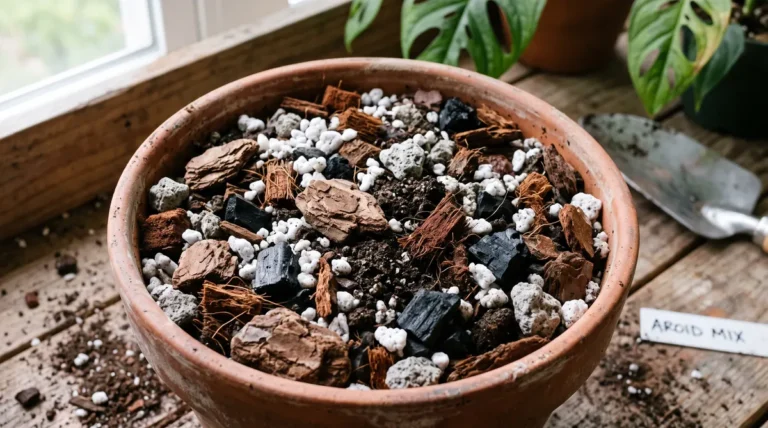
Place a fresh layer of chunky potting mix at the bottom of the new container. Position the plant so its root flare sits exactly level with the soil line in its previous pot. Burying the stem too deeply invites fungal collar rot. Fill around the root perimeter with fresh mix, tapping the pot base against your work surface to settle the medium without compressing it tightly.
Step 5: Post-Repotting Recovery
Water thoroughly until water drains freely from the bottom holes. Place the plant in moderate, indirect light for 7 to 10 days while roots re-establish contact with the new media. Withhold synthetic fertilizers for 3 to 4 weeks to avoid burning newly formed root hairs.
Troubleshooting Repotting Complications
• Severe Wilting Within 48 Hours After Repotting
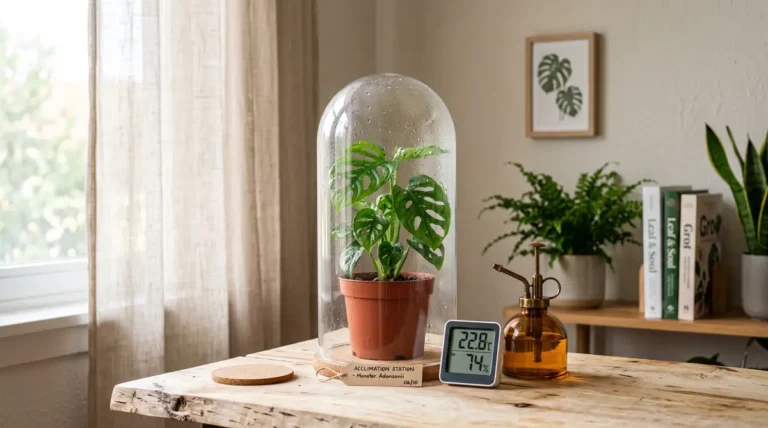
This indicates transplant shock caused by damaged fine root hairs unable to take up water. Place a clear plastic humidity bag loosely over the canopy for 5 to 7 days to reduce transpiration demand until root function recovers.
• Substrate Remains Wet for Over 14 Days
The container is too large for the existing root mass, or drainage holes are blocked. Move the plant to a brighter location with increased air circulation. If moisture persists, un-pot the plant and downsize into a smaller container.
• When Is the Best Season to Repot Tropical Houseplants?
Spring and early summer are ideal because lengthening photoperiods and warmer ambient temperatures stimulate rapid cell division and root expansion. Under year-round full-spectrum grow lights, repotting can be conducted whenever root bound conditions arise.